I outline how I structure analytical project folder systems and some hints for matching R Markdown documents to a corporate style guide including adding logos, watermarks, and of course colours. Markdown publication can be published on.
R Markdown in corporate settings
I’ve been busy recently writing a paper at work using R Markdown, the wonderful tool provided by the folks at RStudio “to weave together narrative text and code to produce elegantly formatted output”. I don’t use R Markdown for my blog, because I prefer to separate my analytical scripts from the text and reintegrate the products by hand (I have my reasons, not necessarily good ones, but reasons of a sort). But in many contexts the integration of the code, output and text in R Markdown is a fantastic way to quickly and easily produce good-looking content.
In most organisations I’ve worked for, documents need to reflect the corporate look and feel. Typically, details are defined in a style guide and manifested in Microsoft Word and PowerPoint templates. Important details include permissible fonts, heading styles, design elements’ colours, and so on. In an organisation which does a lot of statistical graphics, you might also have guidelines for colours and other thematic aspects of plots.

R Markdown is an easy-to-use formatting language for authoring dynamic reports from R code.
I found myself having to solve a few minor problems to get my R Markdown at work generating a stand-alone HTML file that looks close enough to the look and feel that customers wouldn’t get a jolt when they saw the result and ask me to re-do it in Word. So today’s blog post jots down some of what I learned, if only so I’ve got it all in one place for myself.
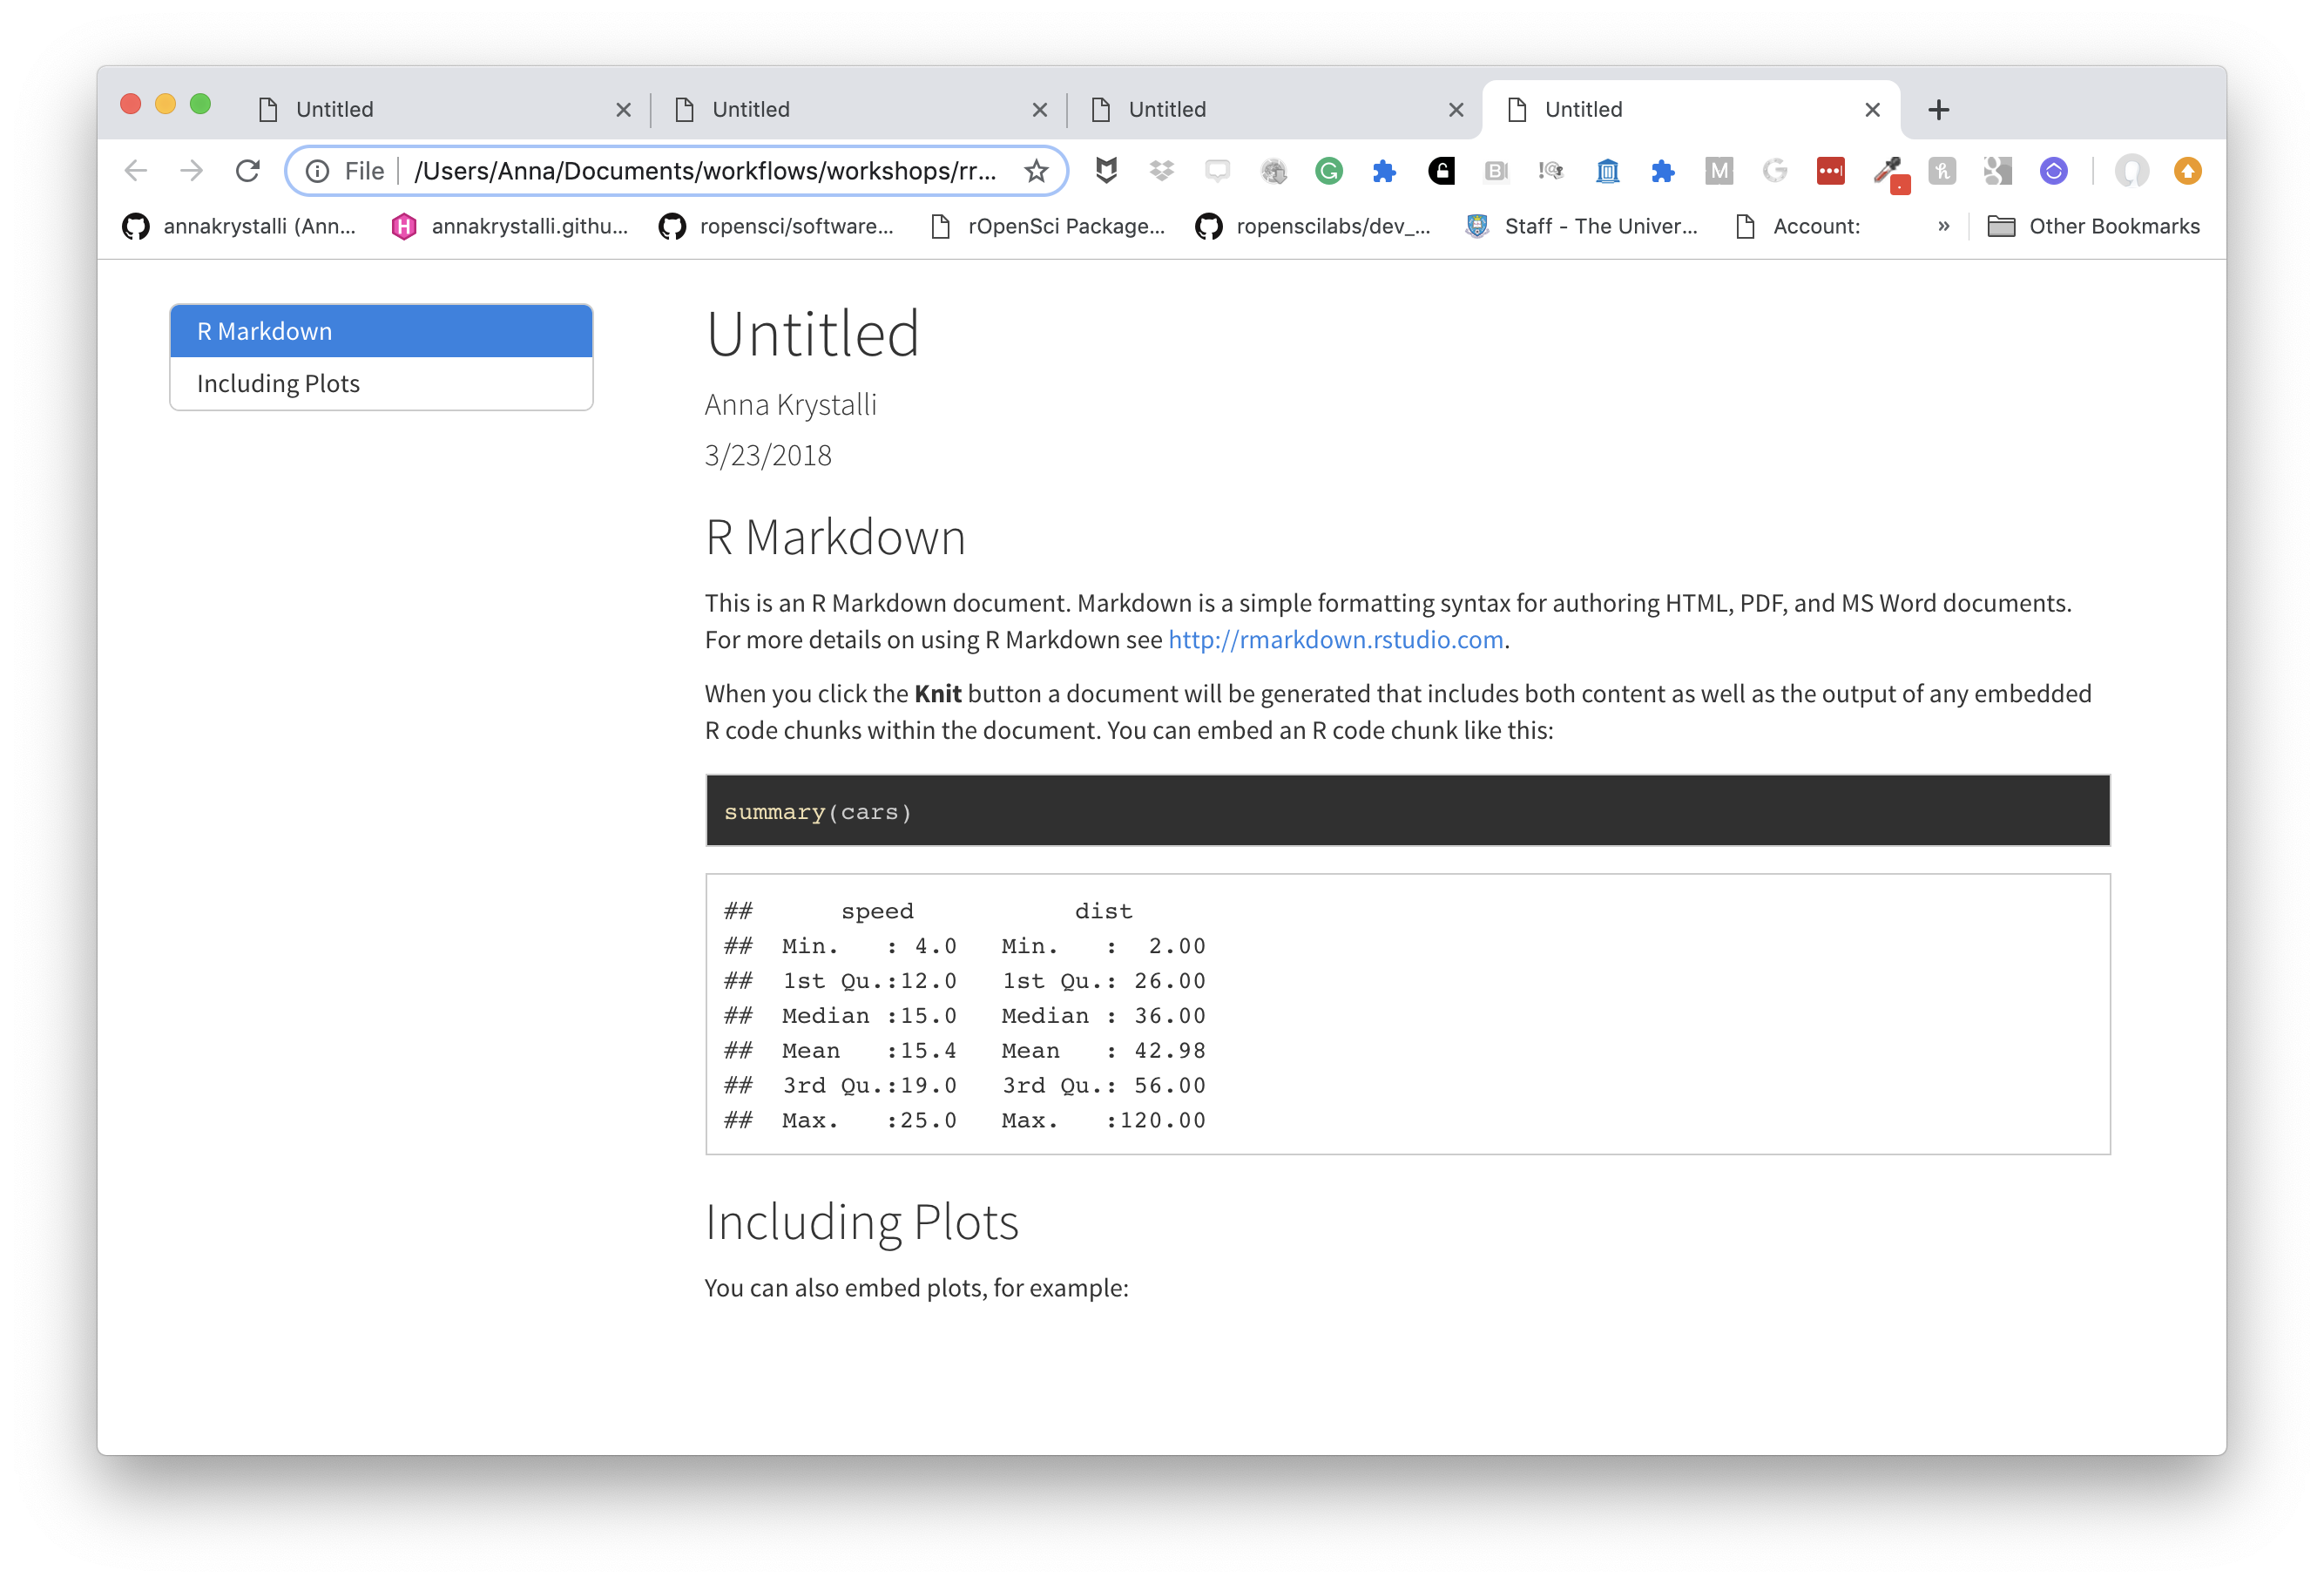
To illustrate this, I set up a GitHub repository of source code for a hypothetical project involving some data management, analysis and report writing. Feel free to clone and re-use it (attribution would be nice). Here’s a screenshot of the top of my hypothetical report:
Clicking on the image will get you the whole report including some plots of New Zealand’s regional tourism, which I used as readily-available data.
Structuring the project
I divide most of my projects of this sort into four conceptual tasks:
- setup - loading up packages and defining functions and assets that will be used repeatedly
- data munging - download / extraction / creation and management into a stable state to be referred to throughout the project
- analysis
- building outputs such as reports, presentations and web tools
These tasks aren’t done in a simple linear manner. For example, sometimes I start writing parts of the report first. Nearly always I don’t know what “functions and assets will be used repeatedly” until I find myself doing similar things a few times.
This project is set up as a folder system comprising a single Git repository and RStudio project. I like to have a one-to-one relationship of Git repositories and RStudio projects. In this project I’ve got four subfolders:
Rprepdatareport-1
The R folder has two scripts:
corp-palette.Rwhich defines the corporate font and colour scheme to be used in graphics created by Rbuild_doc.Rwhich defines a function to render the R Markdown file into HTML (more on why this is needed later).
The prep folder in this case holds a single script which downloads a dataset from the web, imports it from its Excel format and does some minor data management tasks like defining additional columns for use in future analysis.

The data folder holds data - both the raw data downloaded from the web, and analysis-ready versions as .rda files. The Git project has been told (via the .gitignore file) to ignore data files so they don’t bloat up the source code repository but are created by the script in prep.
Finally, the report-1 holds a file written in R Markdown (report.Rmd) and some other assets like the SVG of the corporate logo.
In a larger project I might have a separate analysis folder, with scripts doing various analytical tasks. In this case, all of that is done in R chunks in the report.Rmd file.
Now, with a project as simple as this I could have had it all in a single .Rmd file which could be distributed by itself, but that approach doesn’t scale up well. I intensely dislike using a big .Rmd file as my main workflow control. Getting on top of the caching of R chunks alone is a major cause of frustration. There are also challenges with working directories, although these have been mitigated by recent developments in the world of knitr. But mostly it’s just good practice to think of analytical projects beyond the trivial in size as projects, involving a portable folder system not just individual scripts.
In this approach, the .Rmd file itself doesn’t need to be (and isn’t) 100% reproducible, so I avoid the “knit” button in RStudio which spawns a fresh R session from scratch. Instead I ensure reproducibility of the project - I should be able to make a fresh clone on a fresh computer with the right R packages on it, source build.R in a fresh session and have it run. But the .Rmd file isn’t self-sufficient, and I don’t think that’s a reasonable expectation in a big project (bigger than this toy).
This approach also works well in the common situation that a single project has multiple outputs eg a couple of reports, a Shiny app and a presentation. It makes little sense for each report and presentation to be self-sufficient and repeat tasks that are really one-off project tasks.


There’s an R script in the root directory of the project called build.R which basically runs scripts in the other folders in the correct order to re-create the whole exercise from scratch. Here’s what that script looks like. Notice I’ve tried to make it as aware of the environment as possible; for example, it doesn’t matter what order the files in the R subfolder are run in, so it just finds all the files there and runs them in alphabetical order. This means I don’t need to change the build.R script when I put a new script in the R directory.
Create R Markdown File
R Markdown with RStudio Server on a mapped network drive
I’m pretty sure there’s a bug associated with the combination of RMarkdown, RStudio Server, Pandoc and mapped network drives. The long and the short of it is that rmarkdown::render('document.Rmd') will fail when asked to build a stand-alone HTML file if document.Rmd is on a mapped network drive. I really needed an emailable stand-alone HTML file, and at work my only access to R was on RStudio Server; and mapped network drives the only ones RStudio could see that I could access from the Windows file system.
I got past that problem with the following workaround, which made use of the fact that the RStudio Server was set up so I had a home directory (~) which, while not visible to Windows, I could save things in and navigate to and from in the R environment. So my approach was:
- copy all the files I need from the
report-1project sub-folder to my home directory ~ - change working directory to ~ and render the stand-alone HTML there
- copy the HTML file back to the original
report-1sub-folder, clean up the home directory, and return to the project root directory
This is all done in the function build_doc(), which is one of the assets created at the beginning of the project:
If you find that useful you can actually get it from my nascent pssmisc R package where I’m putting odds and pieces like this:
Approximating corporate style in HTML
Setting up the document
A few things I wanted in this situation I need to set up in the YAML front matter of the .Rmd file:
- a stand-alone HTML document
- a dynamic and floating table of contents on the left of the screen
- syntax highlighting that works with SQL (not used in my demo project, but my real one at work had to do this)
- incorporate cascading style sheets w
So here’s the first 14 lines of the R Markdown ./report-1/report.Rmd:
Fonts and headings with CSS
This takes us to the file of Cascading Style Sheet instructions, corp-styles.css, sitting in the same folder as the report (this is probably a weakness to think through - better to have it in a central location somewhere). I’m no CSS expert but this is simple enough. I worked out the correct colours of headings and their sizes from the corporate Word templates, and converted them from point sizes to the percentage size relative to normal text. Colours and fonts in the below have been made up for this example:
In my real world example I had some other things in there too, such as table formatting.
Adding a logo
As well as the headings and the body, notice the definition of the style of the .title class. This is the one-off element that is the title of the whole report. I give it a wide right margin of 200 pixels so there is room for my hideous made-up corporate logo in the top right. That logo is in the main report.Rmd file with the code:
…and obviously the file logo.svg is in the same folder as the report.
Adding a watermark
I wanted a watermark saying “DRAFT” in pale letters that would always be visible for readers. This worked quite well and was fairly simple. I just needed to include the single line below in my main report.Rmd, creating a div of class “watermark”. The CSS to force objects of this class be fixed in the middle of the page, large in size and opaque is in the .watermark {...} code in the corp-styles.css file already shown.

Graphics
The final thing to mention is the styling of the graphics produced by R itself. This is defined in the file corp-palette.R, already mentioned, which is run at the beginning of the project. It creates an object corp_palette to hold my hypothetical corporate colours for statistical graphics, and makes them the default discrete colour scale for ggplot2. It also sets an appropriate theme and font, and makes the font the default for the text geom.
R Markdown Files
That means I don’t need to specify the colours and fonts for individual charts in my R Markdown file.
End result
Enjoy:
Insert Images In R Markdown Files
- built R Markdown -> HTML report with correct fonts, colours (headings and graphs), logo and draft watermark
